
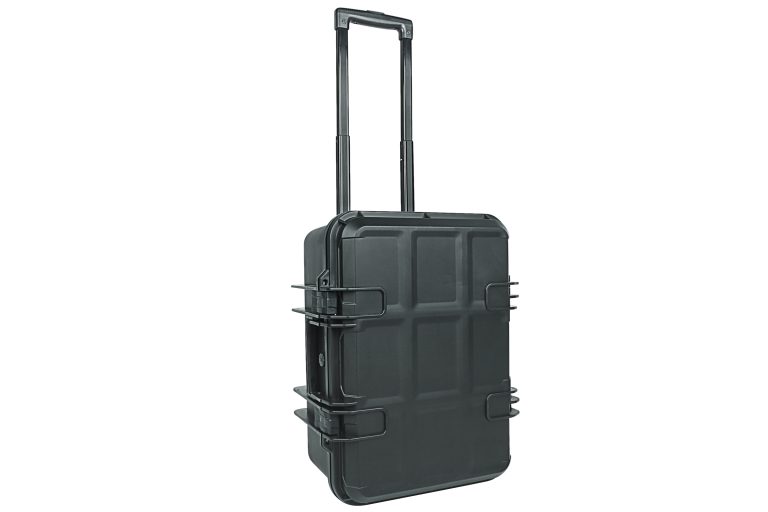
A case can pass the first meeting and fail on the first shipment. The shell looks substantial and the latches close. Then somebody remembers the charger. Now a connector is against the foam wall, and the packed case is too tall for a vehicle shelf nobody measured.
Begin at the other end: the shipment. Until the load, route and handlers are known, choosing a protective equipment case is premature.
Settle one basic point at the outset. Will a carrier label go on the shell, or will the case disappear inside a carton or crate? Put the answer on both the drawing and the test request. Otherwise, “packed case” can describe two quite different objects in the same project.
Write down the route before opening a catalogue
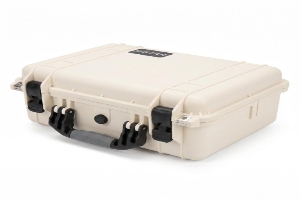
The single word “shipping” tells a supplier very little. Parcel sorting, pallet freight and a technician’s van each bring their own handling. Even an unfinished route written plainly is more useful than a polished specification with no journey in it.
An engineer might jot down “assembly trolley → service van → one flight of stairs → narrow bench.” For a parcel job, the line could be “carton overpack → collection → two sorting transfers → receiving room.” Either version brings hidden constraints into view.
Include the handovers
Handovers deserve their own pass through the route. Production packs the unit; a warehouse adds a carton; later, the customer may send the inner case back. Note who performs the floor lift and who faces the repacking job.
Unknowns can stay on the page. “Final carrier not selected” tells purchasing that labels and carrier limits still need an owner. Leaving the line blank merely disguises the same uncertainty.
Add the place where the lid will open. Plenty of clearance on a workshop table says nothing about the space beside a vehicle or inside a crowded equipment room.
Record the complete packed weight
The catalogue’s empty weight is not what anyone carries. Put the insert, equipment, cables and documents on the scale with the case; include carton or pallet materials when they travel with it. That is the figure for the lift and freight discussions.
Let an actual handler try a representative packed sample. The scale cannot reveal an off-centre handle or a wheel that snags on the usual threshold.
Start the layout with the overlooked items
Most teams remember the main instrument. The second battery, unusual lead, protective cap and last-minute manual are more likely to disturb the layout.
Spread the kit out where nothing has to stay in a bag or pocket. Assign short item codes and record the count, envelope dimensions, packing direction and mass where it affects the design. The equipment list guide keeps each measurement beside the right component.
Mark vulnerable features
Three dimensions miss fixed cables, raised knobs and exposed connectors. A side photograph can show the awkward feature; annotate the area that must remain free of pressure. For a folding handle, record its packed position. If adjacent metal parts need separation, write that beside their item codes instead of hoping the foam designer reads it from the photograph.
Name each kit version. Changing only the cable set can still change the interior, although the main instrument stays the same. Carry the version name onto the list, drawing and sample record.
Decide how the user reaches each part
A dense layout may look efficient yet slow the user down. Perhaps the controller and lead come out first while a spare module stays underneath. Walk through one ordinary setup and one repacking sequence before accepting the drawing.
Watch both the fingers and the lift direction. A cavity is wrong if the only way to release an item is to tug its cable or connector. Moving a scallop on the drawing is cheap; finding the problem across a production batch is not.
Find the space the equipment can actually use
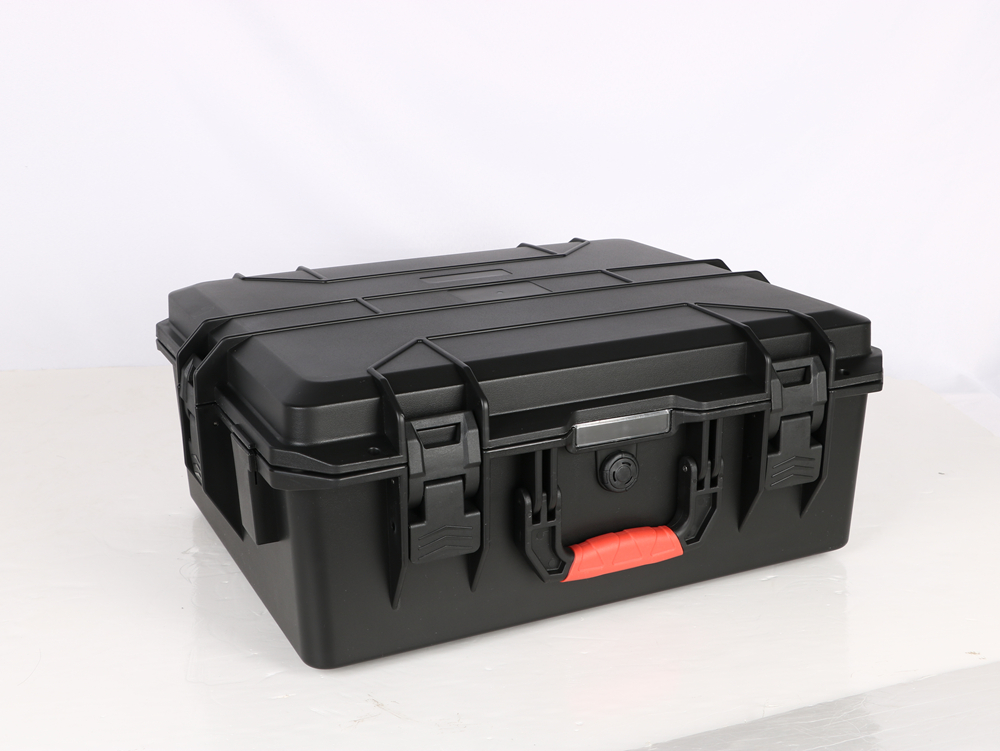
Outside dimensions belong in the doorway, shelf, vehicle and pallet check. For the equipment layout, obtain current internal dimensions for the exact configuration offered.
Ask where the measurement points sit. Corner curves, ribs, wheel housings and latch details can project into a moulded interior, while the lid may steal height. The quoted maximum width may exist only along one line rather than across a clear rectangle.
Check all three dimensions on the drawing
Overlay the largest item on a scaled internal plan. Height gets a separate section view with the base foam, lid foam and anything above the item shown. For trays and stacked layers, draw each depth; the lower tier cannot simply inherit the case’s published depth.
A close margin calls for a sample. Catalogue volume cannot show that a connector lands directly beneath a lid feature, and rounding the measurement changes no physical part.
Use the plastic protective case range and rotomolded case range to identify a likely format. The YF-463546 and YF-583542 pages give model-level references for narrowing the envelope. Before ordering, request the current drawing and confirm which options are available.
Keep the outside package in view
Draw the carton or crate when one surrounds the protective case. Add its cushioning, documents and closures. The finished outside dimensions then go back to the pallet, vehicle and route checks.
This prevents two teams from solving different problems: engineering checking the case while logistics prices a shipment built around an assumed carton.
Ask what a proposed shipping test represents
Whenever a quotation says “tested,” ask for the rest of the sentence: the specimen, procedure and pass criteria.
ISTA describes the 1-Series as non-simulation integrity performance tests, whereas the 3-Series covers general simulation performance tests. Its overview associates 3A with packaged products moving through parcel delivery and 3B with less-than-truckload shipments. A packaging specialist can use those distinctions to frame the test discussion, but the labels alone do not select a procedure for the project. ISTA test procedure overview
Tie the evidence to one configuration
Identify the case, insert, closures, packed product and overpack in the test record. Change one of them and the shipping unit may no longer match the evidence.
ISTA’s Transit-Tested information likewise deals with a defined packaged-product configuration and programme conditions. Do not turn evidence for one packed product into a blanket claim for a case family. ISTA design and testing guidance
ASTM lists D4169-23e1 as an active practice for performance testing of shipping containers and systems. Its scope covers sequences of anticipated distribution hazards. The practice notes that the shipping unit remains unopened during performance testing, while opening during development work can affect evaluation of the closure. Agree on the specimen, sequence and acceptance checks with the packaging engineer or laboratory. ASTM D4169
Use the loaded sample as a working object
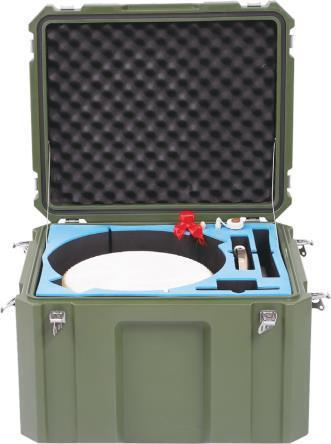
An empty shell confirms colour, hardware and broad construction, but it says little about access. Load the proposed equipment. Close the lid normally—without leaning on it—and carry the case along the shortest available section of the real route.
Put it on the expected work surface and ask a user to unpack it. Fingers squeezed between cavities, cables across the lid line and small parts wandering into another pocket will show themselves quickly. Repack the kit as well; access problems are not always symmetrical.
Write corrections against item codes
“Foam too tight” forces the supplier to guess. A better note identifies the item and location: “CBL-02 connector catches at the upper-right edge” or “add lifting access beside BAT-01.” Photographs with a scale help when the requested change is dimensional.
Keep the approved equipment list, interior drawing and sample revision together. The sample review guide gives the review a consistent record. When the kit changes, reopen the affected checks instead of quietly trimming the insert on site.
Send one current brief with the enquiry
Email fragments and detached drawings soon disagree. One dated brief should hold the case format, equipment list, route, packing arrangement, quantity, destination and evidence requests. A pending decision stays visible beside its owner.
The custom case planning page and custom case enquiry guide show what to collect before requesting a proposal. A supplier can then respond to the actual load and route instead of filling gaps with assumptions.
For release, read the quotation and drawing against the brief line by line. Model, usable dimensions, insert revision, accessories, overpack and quantity all need to point to one physical shipment. A mismatch here belongs in the records, not in another explanatory email.
FAQ
Will the carrier always handle the protective case directly?
Not always. The shell may travel directly, but many projects place it inside a carton, crate or other overpack. The quotation and evidence should identify the arrangement they cover.
Are external case dimensions enough to confirm the fit?
No. Compare the full kit with the selected configuration’s current internal drawing, including clear length and width, depth beneath the lid and the space needed to lift each item out.
Can one ISTA or ASTM result be applied to every unit of a case model?
No. The evidence relates to the specimen and configuration evaluated. Confirm whether it covers the proposed case, interior, packed product, closure and outer package.
What belongs in the first supplier enquiry?
Send the route and a coded equipment list, including dimensions, counts and vulnerable features. Add the intended access order, shipping arrangement, purchase quantity, and any requirements for samples or supporting evidence.