

Learning how to choose a cooler box starts with a packed load and a clock. Capacity, insulation and appearance matter, but they do not tell a buyer whether the planned contents fit with enough cold source or whether the target temperature can be maintained on the actual route.
Write the job before comparing models. A drinks box opened throughout an event is not the same as a food cooler kept closed in a vehicle, and neither is a controlled laboratory shipment. The selection should reflect the contents, temperature range and handling pattern.
Define the contents and temperature target
List every container, its quantity and its starting temperature. Include secondary bags, dividers, racks and absorbent material. A nominal product volume can be misleading when rigid bottles do not pack efficiently.
State the acceptable temperature range and what counts as failure. For food, FDA guidance says cold food should be kept at 40 °F or below. Other contents may have instructions set by their manufacturer or a project protocol. Do not transfer a food-safety number to unrelated material or invent a universal cooler target.
Begin with pre-chilled contents
Warm contents consume cooling capacity before the journey is underway. USDA outdoor guidance recommends refrigerating or freezing food before departure. Record the starting temperature in a trial so one model is not tested with a colder load than another.
Cold packs also need a defined starting condition. “Frozen” can mean hard-frozen after a full conditioning period or partly thawed after transport to the packing area. Note the method and time.
Describe the pass point
Choose where temperature matters. It may be the warmest product container, the centre of a sample pack or another location defined by the project. A probe touching a frozen pack can make the graph look reassuring while the exposed load warms.
Agree on excursion handling before the test. Does one reading above the limit fail the run, or is duration considered? This is a project decision, not something to negotiate after the data arrive.
Draw the load inside the usable interior
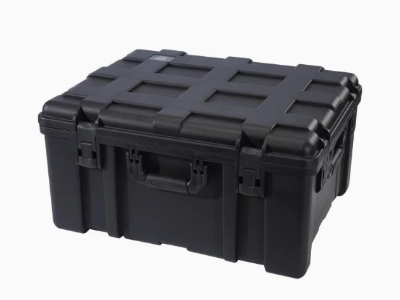
Use internal dimensions, not the external case size or a volume number alone. Draw the footprint of bottles, tubs and cold packs. Include corner radii and the space needed to close the lid without pressing on the load.
The cooler box category shows available formats. The NL-10 cooler box lists a 20 × 20 × 28 cm internal space, while the NL-18 cooler box lists 33 × 20 × 26.5 cm internally. Use those catalogue figures for initial layouts and confirm a close fit on a sample.
Reserve space for the cold source
A box that holds every bottle with no room for ice or packs is not large enough for the planned configuration. Decide whether the cold source sits below, around or above the load, then show it on the drawing.
Weigh the cold source. Counting packs is useful only when pack size and condition remain the same. For loose ice, record mass and type; cubes and blocks settle differently.
Avoid an unnecessarily empty box
FDA guidance notes that a full cooler maintains cold temperatures longer than a partially filled one. That does not mean cramming the lid shut. It means fill level belongs in the test record.
If the operating load varies, define a minimum-load arrangement using conditioned filler or a documented alternate packing plan. Test the configuration that will actually be used.
Map heat and openings along the route
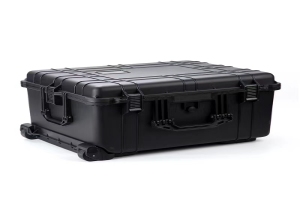
Ambient temperature is only part of the story. Direct sun, a hot vehicle floor and warm air entering at each opening can change the result. Record the route by time and location.
Count lid openings and give them a duration. “Open frequently” cannot be repeated. Six ten-second openings at stated times can. If drinks cause most openings, USDA guidance suggests separating them from food so the food cooler can remain closed more often.
Include loading and waiting time
The journey starts when packing starts, not when the vehicle leaves. A loaded cooler may wait on a dock or in a hallway. Add these periods to the duration.
At the destination, decide when the requirement ends. Is it arrival, handover, unpacking or the end of an event? The difference may add hours.
Check handling and vehicle fit
Calculate the loaded weight and identify who lifts it. Try the handle with the full load. Check the box against vehicle shelves, doors and floor space using external dimensions.
An upright format may fit a narrow footprint while a rectangular format may make bottles easier to arrange. Layout and route should decide; neither shape is universally preferable.
Ask for evidence tied to a configuration
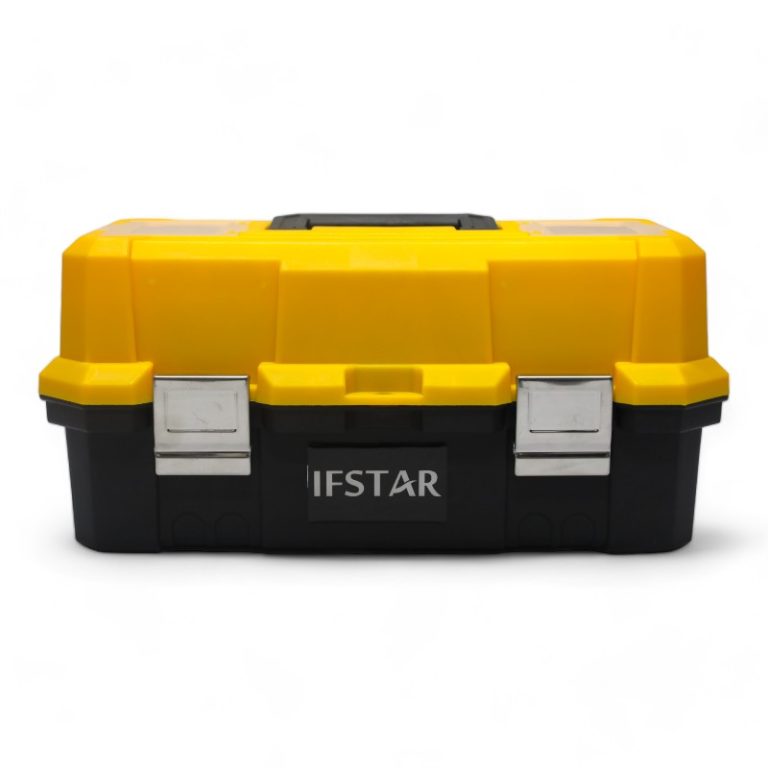
A statement such as “keeps cold for 24 hours” is incomplete without the load, cold source, ambient conditions and opening schedule. Ask what was tested and whether the production model matches that sample.
If suitable evidence is unavailable, run a comparative sample trial. Use the same contents, cold-source mass, starting temperatures, surroundings, sensor positions and lid schedule for each model.
Save the full temperature curve
The time of the first limit crossing is important, but the curve explains the event. It may show steady warming, a sharp change after an opening or a sensor disturbed during handling.
Photograph the pack before closing and mark sensor positions. Keep notes on anything removed or returned. A warm replacement item changes the system.
Repeat a critical trial
One run can hide operator and packing variation. Repeat important approval trials. If results differ materially, inspect the preparation and method before averaging them.
Use the cooler retention test plan for a fuller protocol. Record fit, closure and handling findings with the sample review guide.
Prepare a supplier brief
Send the contents list, internal layout, target range, duration, ambient conditions, cold source, opening schedule, quantity and delivery destination. Add color, marking and packing requirements if they apply.
Ask the supplier to identify the exact model and any assumptions in the recommendation. Keep those assumptions with the quotation so a later order is not compared against a vague memory.
FAQ
What size cooler box should I buy?
Choose from a drawn packed layout that includes the complete load and cold source. Confirm usable internal dimensions and lid clearance on a sample.
Is a bigger cooler always better?
No. A larger box can add empty space, cold-source demand and loaded weight. Compare configurations for the same job.
How should I compare cold-retention claims?
Ask for the load, ice or packs, starting temperatures, ambient conditions, openings, sensor location and pass criterion behind each result.
Should food and drinks use separate coolers?
They can when frequent drink access would repeatedly open the food cooler. The operating plan and available space should determine the arrangement.