
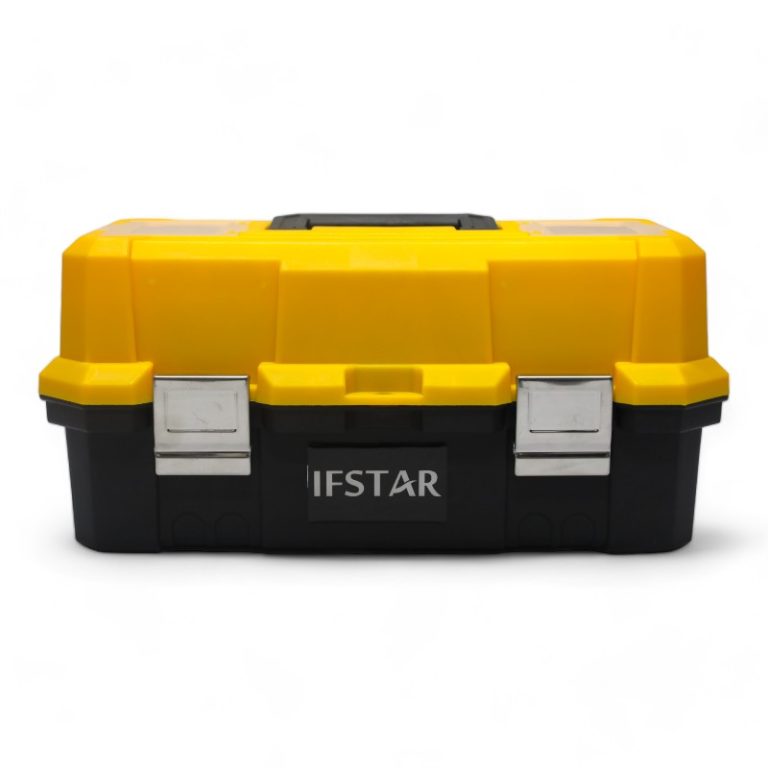
Knowing how to clean a cooler box is mostly a matter of sequence. Empty it promptly, remove loose soil, wash the accessible surfaces, rinse away cleaner, dry the box fully and inspect the parts that control closure. The exact products and any sanitizing step should follow the cooler manufacturer, the contents carried and local food-safety requirements.
A rushed wipe can leave meltwater under a removable part or food residue around the rim. At the other extreme, an aggressive chemical or abrasive tool may damage a surface or label. Write a short method for the actual box rather than relying on “clean as usual.”
Empty and separate the contents first
Move food, samples or other contents to suitable storage before cleaning. Do not leave temperature-sensitive items on a bench while deciding what to do with the cooler. Follow the relevant handling instructions for those contents.
Discard meltwater and loose ice in an appropriate place. Treat packaged ice used with food as food; FDA guidance says it should be handled with clean utensils and stored in clean food-safe containers.
Remove loose parts and debris
Take out dividers, racks, trays and removable seals only when the manufacturer’s instructions allow it. Keep small parts together and note their orientation before removal.
Brush or wipe away crumbs, labels and dry debris. This makes the washing step more effective and prevents grit from being dragged across the surface.
Record unusual contamination
A leaking raw-food package, broken sample container or unknown chemical spill is not routine cleaning. Isolate the box and follow the organization’s contamination or safety procedure. Do not improvise a chemical treatment from a general cooler article.
Photograph damage or leakage when the incident may affect future use. The record helps decide whether the cooler should be repaired, assessed or retired.
Wash with a compatible method
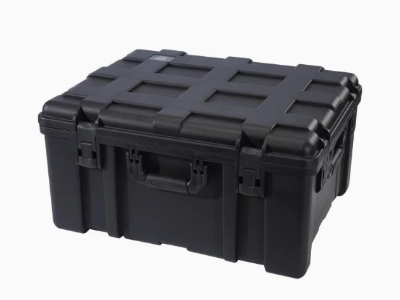
Use the cleaner, concentration, water temperature and tools recommended for the specific cooler and its use. A soft cloth or non-abrasive sponge is often easier on molded surfaces than a harsh scouring pad, but the product instructions remain the authority.
Wash the base, walls, underside of the lid, rim, handles and other touched areas. Pay attention to grooves where water sits. Clean removable parts separately so all faces are reached.
Cleaning and sanitizing are not the same step
Cleaning removes soil. Sanitizing is a separate treatment intended to reduce microorganisms on a cleaned surface. Whether it is needed, which product is permitted and what contact time applies depend on the contents and governing procedure.
Treat cleaning and sanitizing as separate instructions in the written procedure. Do not apply a sanitizer over visible dirt and assume the job is finished. Use each product only as its label and the approved site procedure direct.
Check the product label and case guidance
Follow label directions for dilution, contact time, rinsing and protective equipment. More concentrated is not automatically more effective and may damage the cooler or leave unwanted residue.
When the cooler carries laboratory, medical or industrial material, use the approved site procedure. Food guidance cannot replace a validated decontamination protocol.
Rinse and dry the box completely
Remove cleaner and loosened soil with clean water as directed. Inspect corners and the lid rim before drying; foam or a slippery feel can indicate residue remains.
Drain the cooler in a stable position. Wipe accessible water, then allow air to reach the interior. Do not close a damp box for storage.
Dry removable parts separately
Water can remain beneath a divider or around a removable seal. Place parts so both sides dry. Refit them only after the surfaces and their seating areas are clean and dry.
If a drain plug is present, inspect and clean it according to the manufacturer’s instructions. Confirm it is correctly reinstalled before the next packing trial.
Avoid using odor as the safety test
A clean smell does not prove that the box is sanitary, and a lingering food odor does not identify its cause. Use the written process and visual inspection. Investigate recurring odor, staining or inaccessible residue rather than masking it with fragrance.
Inspect closure and condition during cleaning

Cleaning is a convenient time to examine the lid, rim, seal, hinges, latches and handles. Look for cuts, distortion, trapped debris and loose hardware.
Damage around the closure may affect the box’s ability to close normally. Record the issue and keep the box out of critical use until the responsible person has assessed it.
Keep abrasives away from sealing surfaces
Scratching or gouging the rim can create a cleaning and closure problem. Use tools compatible with the surface and remove hardened residue patiently.
Do not use a sharp blade to scrape the case unless the manufacturer specifically permits the method. A quick mark made during cleaning can become a persistent defect.
Review markings and labels
Check that equipment IDs, handling labels and user instructions remain readable. Replace labels through the controlled process used by the organization; do not cover damage that needs inspection.
If the cooler is shared, a cleaning-status tag can show when it was processed and by whom. Keep the record simple enough that staff will actually complete it.
Store the clean cooler for the next use
Choose a dry, clean location away from contamination and damage. Support the cooler so it cannot fall or distort. Keep loose parts with the correct unit.
The lid position during storage should follow the manufacturer’s guidance and site hygiene procedure. The aim is to avoid trapped moisture while protecting the interior from dust and pests.
Prepare a short pre-use check
Before packing, confirm that the interior is clean and dry, the closure works, and the correct cold packs and accessories are present. This catches storage problems before temperature-sensitive contents arrive.
For food transport, begin with clean containers and safe ice. FDA advice also calls for cold food to be maintained at 40 °F or below. Cleaning a cooler does not replace temperature control.
Match the routine to the chosen model
The cooler box category shows available formats. The NL-10 and NL-18 have different internal layouts, so review access to corners and removable parts on the chosen sample.
Use the sample review guide to record cleaning access, drainage, closure and handling observations before approval. For temperature performance, keep a separate test based on the cooler retention plan.
FAQ
Can I use bleach to clean a cooler box?
Use only products and concentrations permitted by the cooler instructions and the applicable hygiene procedure. Follow each product label for use, rinsing, contact time and any incompatibility warnings.
How do I prevent odors after cleaning?
Remove soil, rinse away residue and dry the interior and removable parts fully. Investigate recurring odor rather than covering it with fragrance.
Should I sanitize the cooler every time?
That depends on what it carried and the governing procedure. Cleaning and sanitizing are different steps; food, laboratory and industrial uses may have different requirements.
What should I inspect while the cooler is empty?
Check the rim, seal, lid, hinges, latches, handles, drain and labels. Record damage that could affect closure, cleanliness or handling.