
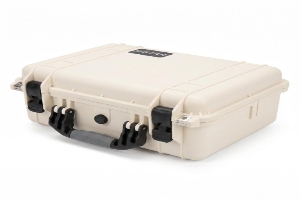
Picture the first review: an instrument, two batteries and a snarl of cables occupy the table. The usual catalogue case will not close. At this point, “rotomolded or injection molded?” is premature.
First measure the pile. Follow it from storeroom to vehicle to worksite, and put a realistic quantity beside the drawing. Give that sheet to the supplier. Now the process discussion has something solid underneath it.
Understand the process without turning it into a slogan
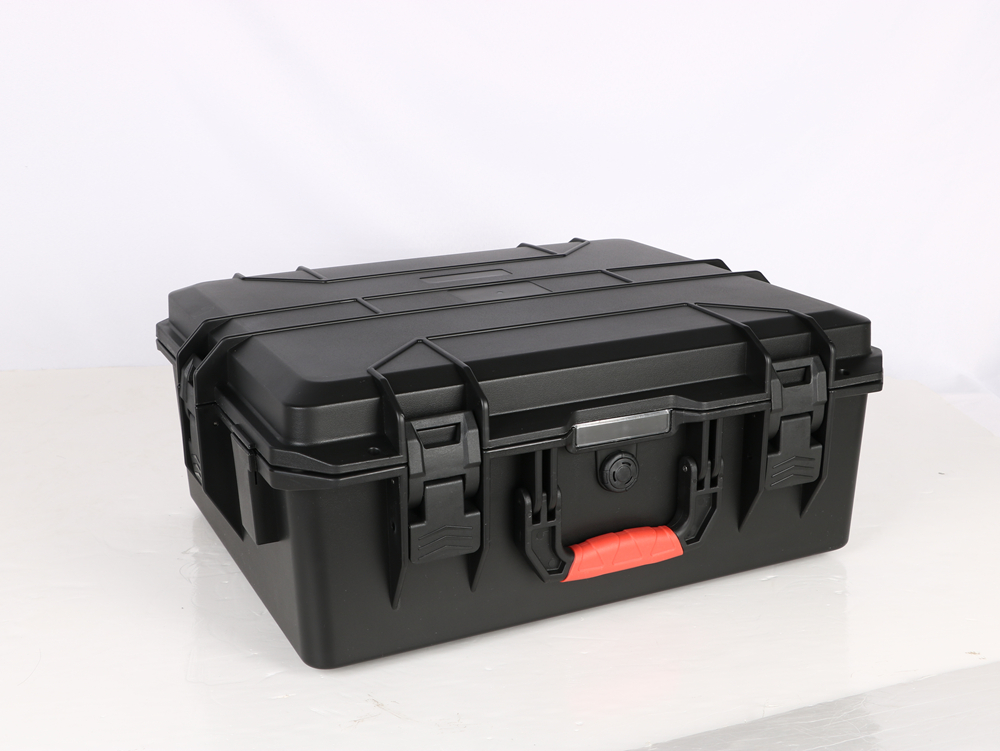
Rotational molding builds the hollow part as polymer travels around a heated turning mold. Injection molding forces molten material into a closed tool. Buyers need that distinction, but only up to a point. It explains some shapes and costs. It cannot answer the question everyone will ask at the sample table: does this particular box work?
The answer sits in the resin specification, ribs, wall distribution, hardware, geometry and production control.
Rotomolding often serves larger hollow forms
Large hollow bodies and modest production quantities are familiar territory for rotational molding. That is why it appears in enquiries for long instruments and bulky field kits. It may also open up shapes that are awkward in a smaller catalogue family.
One note belongs beside any tight layout: a molded wall is a real manufactured surface, not the perfect plane shown in a quick sketch. Request controlled dimensions and tolerances. Where foam nearly touches a corner, hold the cut file until a representative body has been measured.
Injection molding rewards repeatable production
Detailed features and repeat runs are established reasons to consider injection molding. A fresh shell also means fresh tooling, and the economics can change the project quickly. Often the exterior was never the true problem. The kit needed a better interior inside a size already on the shelf.
That distinction saves time during an enquiry. State whether the exterior truly must be unique. If the requirement is equipment location, branding or panel integration, an existing shell may offer a more direct starting point.
Let size and geometry narrow the field
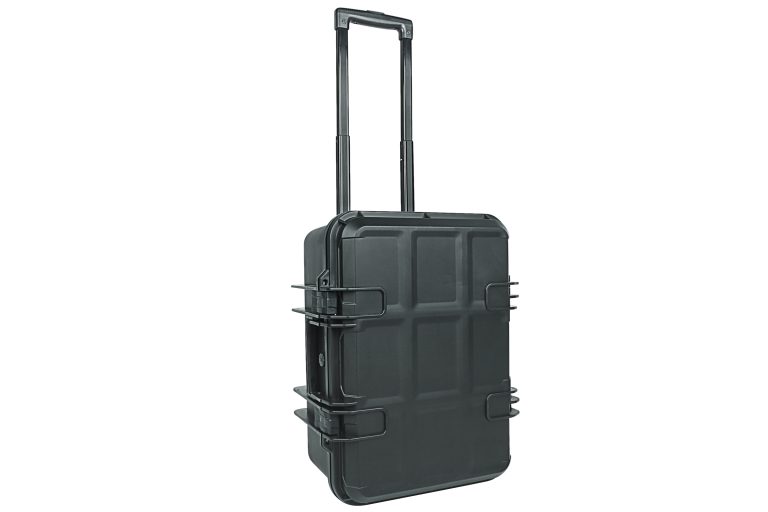
Draw the complete equipment envelope, including accessories and handling clearance. A long item, tall fixed handle or uneven mass can rule out cases that appear suitable by nominal volume.
Keep two drawings. One is the packing view, made from usable inside measurements. The other is the route view: van, rack, doorway and pallet checked against the outside envelope. Put either set of numbers on the wrong sheet and the mistake may survive until the sample arrives. Rounded corners and molded intrusions are the usual culprits.
Large equipment changes handling requirements
When the case grows, pause the layout and total the mass. Walk through one lift from the floor, one set of stairs and the narrowest doorway. Wheels help only on the part of the route where they touch usable ground. It is surprisingly easy to design a huge container that nobody on site can sensibly move.
The rotomolded case category includes larger formats for dimensional shortlisting. The YF-1006060 storage case and YF-12010060 storage case illustrate why external route measurements should be checked alongside the equipment fit.
Smaller kits may favor an existing molded family
Compact kits usually have more catalogue candidates. Here, the useful debate moves inside: access, restraint, lid clearance and the evidence available for the exact model.
Start with the plastic protective case category and mark the near fits. An existing format with honest spare room is often a sounder purchase than a process label chosen before anyone has discussed quantity.
Compare hardware and interfaces on the finished sample
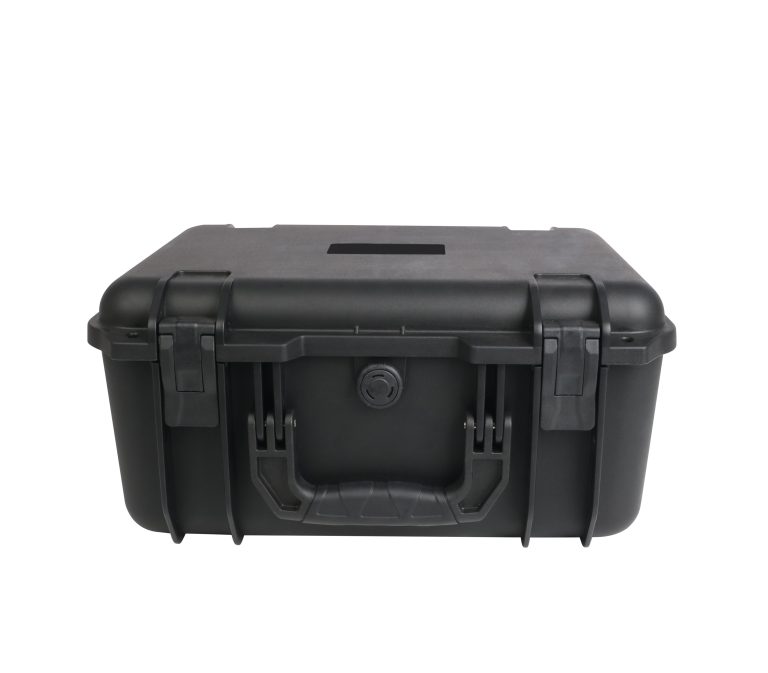
At the loading dock, nobody handles a molding diagram. They pull a handle, kick a wheel over a threshold and try to close four latches without trapping a cable.
Recreate that work with the sample. Latch it on a bench and on the floor. Roll it over the site’s least friendly surface. Watch the handle clearance and the open lid instead of admiring the shell from across the room.
Ask what is molded in and what is attached
Not every feature is born with the body. Hardware fitted later deserves its own line on the review sheet. Circle the wheel, latch or handle on a photograph, add its part reference, and note how maintenance replaces it.
Custom panels, cable connections and brackets need defined interfaces. A hole added after molding can affect an enclosure claim. Make responsibility for the completed assembly explicit instead of combining unrelated component claims.
Review closure and seal behavior
Sight along the rim, feel for a displaced seal and close every latch with the full kit loaded. A cable across the edge or foam standing too high is a packing fault, not a reason to lean harder on the lid.
For a dust or water requirement, ask for evidence that names the model and tested configuration. “Rotomolded” and “injection molded” are manufacturing descriptions, not IP ratings.
Include the interior and packed mass in the comparison
A case shell may survive handling while poorly restrained equipment moves inside. Develop the cavity plan with the case selection, not after the purchase order.
Map heavy items near suitable support. Give fingers room to remove equipment and keep pressure away from connectors and controls. The custom foam inserts guide explains how stable and changing equipment sets lead to different insert choices.
Check balance before approving wheels and handles
The dense instrument makes balance visible. Load it, take the corner at walking speed and park on an ordinary floor joint. If the case wants to tip, the layout has already given its answer.
Record the complete packed weight. It affects manual handling and may change freight choices. Empty case weight alone is not a useful transport decision.
Treat testing as configuration-specific
For transport testing, name every part of the test item: product, insert, case, closures and outer package. A report for an empty shell or a neighboring size is background reading, not proof for this packed unit.
Write the pass decision before the laboratory starts. Photographs, damage inspection and functional checks must all point back to the same revision.
Compare commercial fit as well as technical fit
Unit price is one cell in the quotation, not the whole comparison. Add minimum quantity, ownership of tooling, sample stages, color, markings, lead time and the rule for later changes.
Then ask whether the equipment envelope will survive the next quarter. A shaky answer argues for a pilot in an existing body. Better to discover the new battery during a sample review than after custom shells fill the warehouse.
Send the supplier the same brief for both options and request a response against each line. The custom case enquiry guide keeps dimensions, quantity, use and customization in one place. Review samples with the sample review guide and preserve the approved model, drawing and hardware list together.
FAQ
Are rotomolded cases always stronger?
No. Process names do not prove finished-case performance. Compare the exact geometry, material, hardware, packed configuration and relevant evidence.
When does a custom exterior mold make sense?
It depends on geometry, quantity, programme life, tooling cost and requirements that existing cases cannot meet. Ask suppliers to compare an existing-shell option first.
Which dimensions should I use for the insert?
Use verified usable internal dimensions, including corner and wall features. Confirm a close layout on a production-representative sample.
Can both types use custom foam?
Yes. The insert design should follow the equipment, handling and case interior rather than the shell process label.