
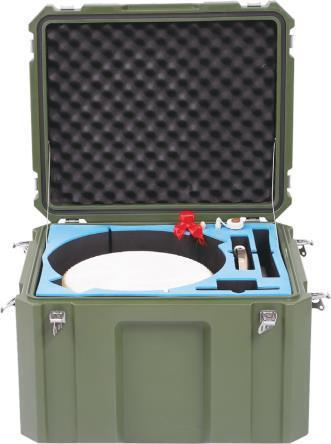
Imagine a drawing that looks finished. Every wrench has a crisp outline, the rows are straight, and almost no foam has been wasted. Then somebody tries to lift the shortest socket. Two fingers will not fit beside it. The neat drawing needs another round.
That small failure explains much of what matters in a tool box foam organizer. A layout is not a still life. It is a working surface, handled by real people who may be wearing gloves, standing at the side of a trolley or trying to account for tools before leaving a site.
Begin with the untidy pile
Lay out the kit exactly as it comes back from work, not as it appears in a sales photograph. The difference is revealing. A charger has gained an adapter. The meter now wears a rubber boot. Two spare batteries travel with the drill, and the cable has never once been wound into a perfect circle.
Give every object a short code before moving anything around. Put the code on the photograph, measurement sheet and drawing. “CBL-02” survives translation and email threads rather better than “the black cable near the meter.” The equipment list guide has a workable format for this record.
Quantity belongs in that record too. A row of six sockets is six required positions, although a purchase list may describe them as one set. Consumables are different: their count changes, so a small open pocket may suit them better than six precise outlines.
Catch the parts a top view hides
Turn the tool sideways. The important dimension may be a belt clip rather than its body, or a connector cap rather than the instrument housing. Folding handles need a stated storage position. Displays, lenses and control knobs need a note saying where foam pressure is unwelcome.
Cables make poor models unless the packing method is fixed. Copy the workshop's usual coil, however imperfect, and measure that bundle. Springy loops are a clue: restrain the cable first, then size its home.
Keep a ruler in one frame for scale, but put the numbers in writing. Perspective lies. A phone-sized instrument can dominate a close photograph, while the plug tucked behind it vanishes.
Separate “must return” from “nice to have”
At the end of a service job, which empty spaces should stop the box from leaving? Those items earn individual silhouettes. The vacant shape gives the user an immediate answer without another checklist.
Wipes, gloves and cheap cable ties do not need the same treatment. They can share a pocket, provided nobody expects that pocket to protect a gauge from loose metal pieces. Think about the contents after a bumpy ride, not only how nicely they fit on packing day.
Try to pick everything up
A full-size print on the bench is a cheap rehearsal. Pretend it already has depth. Where does your thumb land? Try the same reach in a glove. On a heavy item, lift both imaginary ends and see whether one would bite into the wall.
The remedy is sometimes a finger scallop. Elsewhere, exposing part of the handle feels better. A broad, flat device might need a lifting ribbon. There is no prize for using the same detail around every object.
Follow one ordinary repair
Observe the order of use. The driver may leave its slot ten times while the spare charger sleeps through the whole job. Let that imbalance show in the tray: driver close, charger deep.
Turn handles toward the approaching hand. Keep a meter display visible if users identify it before lifting it. Check that the engraved sizes on similar sockets are not buried below the foam surface. Half a turn in CAD can save a surprising amount of fumbling later.
And where does the box actually sit? At the end of a narrow bench, the hand arrives from the side. In a trolley drawer, it arrives from above and slightly behind. The designer's comfortable front-on reach may never happen in the workshop.
Inspect the foam left behind
People naturally look at the cavities. Look at the material between them instead. A skinny bridge between two heavy tools sees more strain than the same width beside a few plastic adapters. Finger notches can leave even less material at one point.
Mark those pinched bridges directly on the drawing and discuss them with the converter. Foam choice, cutter and neighbouring tool weights all matter here. Often the cure is unglamorous—a nudged wrench or a quarter-turn of an L-shaped key.
Our custom foam inserts guide puts adjustable interiors beside repeatable cut foam. Read the material and drawing together. Swap the foam late and the same geometry may grip, flex and wear differently.
Close the actual box
Case volume is a rough shopping number, not a foam boundary. Interior corners curve. Hinges and wheel housings intrude. The lid may contain ribs, foam or a document panel. Work with the current usable dimensions of the case being quoted.
Height is a stack, not one catalogue figure. Start at the case floor, add the base and tallest packed tool, then account for lid foam or documents. Latch it as a user would. Needing an elbow on the lid is a failed trial, and a control knob is a terrible substitute for a proper stop.
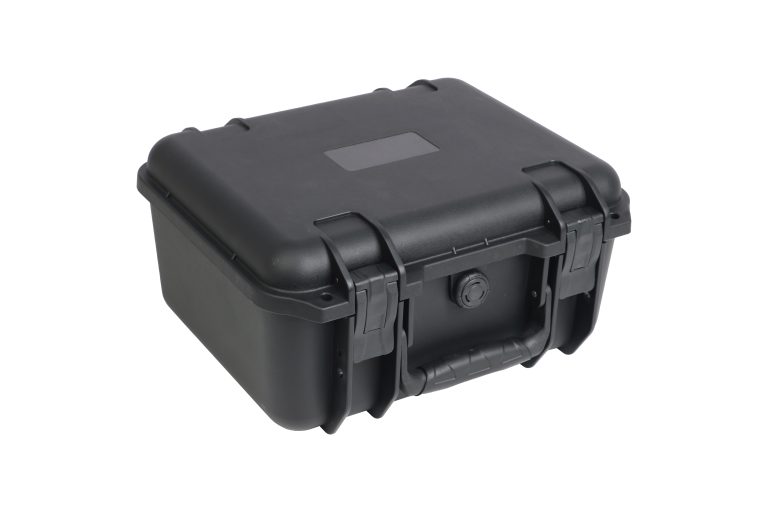
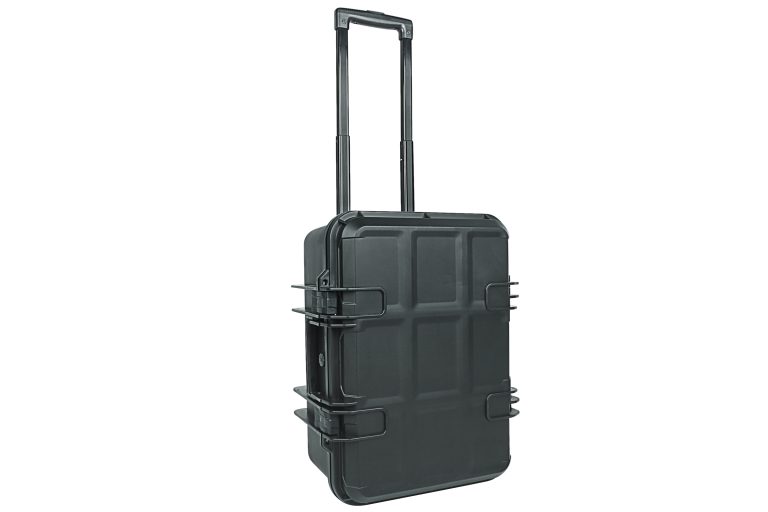
The plastic toolbox category and plastic protective case category are useful starting points for format. For a sense of two larger rolling formats, compare the YF-504836 with the YF-583542. Treat each page as the start of a model conversation. Confirm the current interior and configuration before drawing any cavity.
Measure more than the showroom sample
Fleet equipment changes quietly. One meter has a replacement battery; the next has acquired a protective boot. Pull several units from service and set them together. The outlier, not the immaculate office sample, may decide the cavity envelope.
Do not answer that uncertainty by making every opening loose. Extra space weakens the tool-counting function and lets items wander. Put a cloud around the uncertain feature on the drawing. That keeps the extra clearance local instead of making the whole tool rattle.
For trolley tool cabinet projects, IFSTAR can add a customer logo, customize the color and provide EVA foam inserts fitted to the customer's tools. Confirm these options for the specific cabinet quotation; they are not a universal specification for every IFSTAR product.
Give the sample to somebody else
The first sample earns its keep only when loaded. Walk it from storage, put it on the usual surface and complete a familiar job. Afterward, pass it to a colleague who has never seen the CAD file.
That second person is valuable. The designer remembers every hidden grip point and can unconsciously work around a bad detail. A newcomer turns the tray, pulls the wrong end of a cable or pauses over two similar drivers. Those moments are better evidence than “looks good” written on a review sheet.
Use the sample review guide to capture what happened. Write comments the cutter can act on. “CBL-02 plug catches at the upper-right corner” points to a location; “foam tight” merely reports a mood. For a size change, add one ruler photograph.
Once approved, marry the drawing revision to its equipment list. A tool change next year reopens both. The workshop knife may rescue Tuesday's tray, but the factory cannot reproduce a cut that exists only in Tuesday's tray.
Send a brief that a supplier can use
The enquiry need not be elaborate. Send the labelled overhead shot, useful side views, dimensions and quantities, plus a note on delicate faces. A few plain sentences about the route, carrying method and sequence of use are more helpful than “heavy duty.”
State the project quantity and mention color, logo or packing only where they matter. Already have a model in mind? Name it and request the current usable interior. Otherwise, let the equipment envelope and route lead the choice; exterior case numbers are a poor shortcut. The custom case enquiry guide brings those pieces into one short brief.
FAQ
Does every tool require its own cut-out?
No. Individual positions help when tools must be protected, identified or counted. Changing consumables can share a documented pocket if they will not damage one another or nearby equipment.
How should the fit feel in use?
The tool should stay put, then lift from a safe handhold without a fight. Check that feeling in the proposed material with the real item—especially when switches, plugs or leads sit near the gripping area.
Can the layout be made from photographs alone?
Photographs show shape and context, but perspective conceals dimensions. Pair them with measurements, storage orientation and notes about protrusions and sensitive surfaces.
What changes require a drawing revision?
A different tool, quantity, case, foam material or packing method may alter the fit. Give the drawing, equipment list and accepted sample record the same revision identity.