
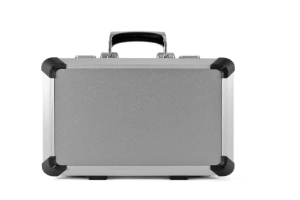
A plastic tool box should be chosen around the working kit, not an empty-box impression. The tools have to fit in their transport condition, frequent items need practical access, and the packed box must remain manageable over the real route.
Begin with an inventory and a work sequence. Then compare usable dimensions, tray or divider options, closures, handle position and the complete packed result. This approach keeps the decision tied to an exact toolbox rather than a broad material label.
List the tools before selecting the box
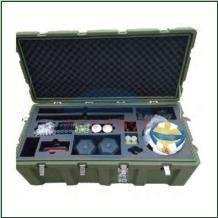
Lay out everything that must travel together. Include hand tools, meters, batteries, chargers, consumables, small parts, documents and personal protective items where relevant. Assign each item a code so photographs, dimensions and the proposed layout refer to the same object.
Record the maximum length, width and height of long or irregular tools. Keep guards, sockets and attached accessories in their normal transport condition. Weigh the complete kit as well as unusually dense items. The equipment-list guide provides a simple starting structure.
Separate daily tools from occasional items
Mark the tools used at nearly every stop. They should not sit below rarely used items or require the whole box to be unpacked. Group related small parts by task, then note which groups must remain visible for a quick missing-item check.
Changing consumables need a flexible area. A precise cavity can work for a stable tool, while removable bins, dividers or an open compartment may suit items that change in size or quantity.
Compare usable space and opening access
Request the current internal and external dimensions for the exact toolbox. Compare them with the proposed layout, including trays, dividers, foam or molded features. A nominal volume does not show whether a long tool clears the rim or whether a full tray can be removed without disturbing the lower compartment.
Use the IFSTAR plastic toolbox category as a format reference, then confirm the proposed model specification. Leave clearance for fingers and gloved hands where they are part of the job. Check that lids, trays and compartments can open fully in the space where the box will normally be used.
Build the height from the bottom upward
Plan the vertical stack: lower tools, any support or organizer, tray contents and lid clearance. Do not place a sensitive meter where closing the lid or loading a tray can press on its display or controls.
Close the loaded sample using normal hand pressure. Unexpected latch force, lid bowing or a tray that no longer seats is evidence that the layout needs revision. A closed lid alone does not prove a good fit.
Choose an organization method for the job
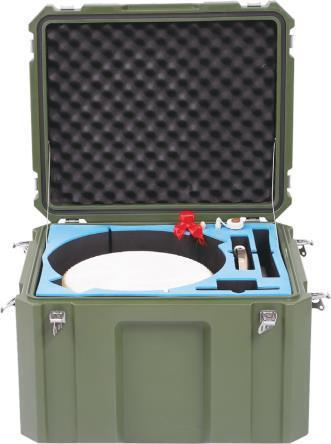
Organization should reduce search time and make repacking repeatable. Open compartments are flexible but can allow small items to mix. Trays separate layers but use some interior height. Dividers can adapt to changing groups. Fitted foam can give stable tools defined positions and make omissions easier to see.
The tool box foam organizer guide explains how to plan cavity access, depth and missing-item checks. If foam is being considered, also compare the options in the custom foam insert guide.
Check removal motions, not only outlines
Trace drawings show footprint, but users need room to lift each tool. Mark finger scallops, pull tabs or open ends where appropriate. Test removal with the box at its normal working height and with the same gloves used on site.
Ask an operator who did not design the layout to find, remove and return several items. Hesitation can reveal unclear grouping, poor visibility or insufficient access.
Inspect the exact construction and hardware
Review the body, lid, hinges, closures, handle, feet and tray supports on the proposed toolbox. Open and close every moving part with the complete load inside. Look for interference between tools, trays and hardware.
Material alone does not establish load capacity, impact resistance or environmental protection. If the project requires a stated performance, request evidence for the exact model and configuration. Do not transfer a claim from another toolbox because it looks similar.
Review closures and the handle under load
Lift the packed box slowly from its intended handle. Note balance, grip clearance and any unexpected movement around the lid or closures. Carry it through doors, stairs, vehicle loading points and storage areas that represent the actual route.
This practical review checks usability; it is not a formal load or drop test. Record any required rated performance separately and verify the corresponding evidence.
Match the toolbox to the transport route
Measure shelves, vehicle compartments, bench space and narrow openings before approval. External dimensions matter wherever the box must be stored or passed through. Packed mass matters wherever it must be lifted or carried.
If the route exposes the toolbox to rain, dust, oils or cleaning agents, describe the event and maintenance routine. A plastic body does not by itself establish an ingress rating or chemical-resistance claim. Ask what applies to the exact finished product.
Compare plastic and metal only when needed
If both constructions remain candidates, use the same kit, route and acceptance criteria. The plastic tool box vs metal tool box guide frames that comparison around the finished construction rather than assumptions about material names.
Record usable space, packed mass, organization, hardware, maintenance, evidence and order details for each shortlisted option. This makes the reason for selection visible to procurement and users.
Approve the loaded sample and order record
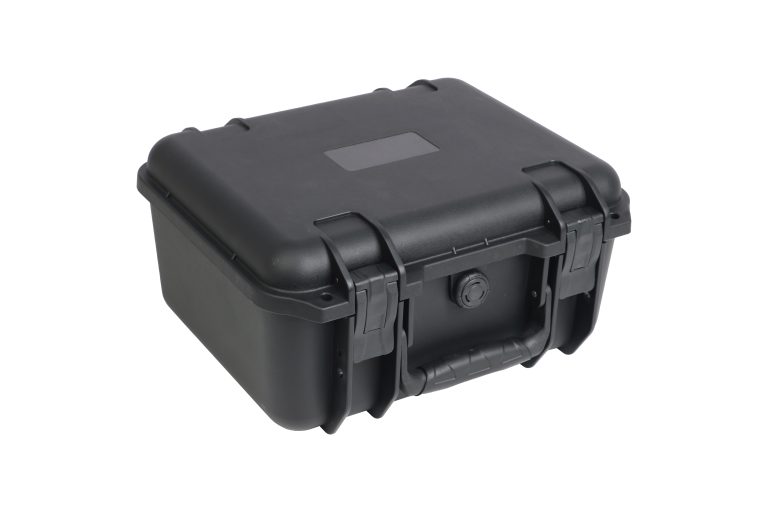
Prepare one project package containing the coded tool list, dimensions, weights, layout, route, quantity, branding, packing and destination. Give the package and layout a revision number. Ask the supplier quotation to reference the same revision.
Load a production-representative sample with every listed item. Check access, closure, handle comfort, balance, storage fit and repeatable repacking. Inspect the tools and organizer after the route trial. Use the sample review guide to record accepted points and changes.
Release the order only when the sample, drawing and commercial record describe the same toolbox configuration.
FAQ
What size plastic tool box should I choose?
Choose from the complete tool layout and usable interior after trays, dividers or foam are included. Also check the external size against shelves, vehicles and work areas.
Is a tray better than an open compartment?
Neither is universally better. A tray separates frequently used or small items, while an open compartment can accept larger or changing tools. Test the full arrangement and available height.
Does a plastic tool box automatically protect tools from water?
No. Material alone does not establish an ingress rating. Request evidence for the exact closed model and configuration if water or dust protection is required.
What should I test on a loaded toolbox sample?
Check every item, access, lid and tray clearance, closures, handle comfort, packed balance, route fit, storage and repeatable repacking. Record the result against the approved revision.