
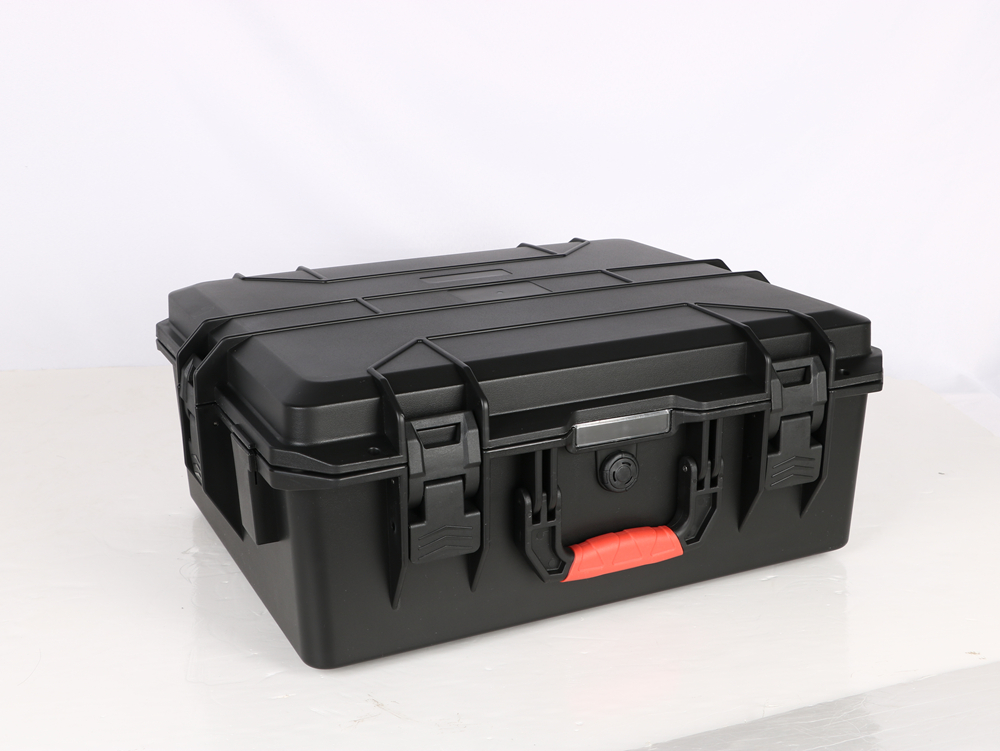
Picture the first sample arriving. The instrument fits, the lid closes and every accessory has a tidy recess. Then someone asks which exact document supports the word “waterproof” in the purchase request. Nobody can find one for this model. Meanwhile, the technician has both hands over the open case, trying to prise out an instrument that has been fitted with no thumb space.
Neither problem is unusual in case sourcing. They happen because “waterproof case” and “foam insert” are treated as catalogue options instead of parts of one packed system. Start instead with the journey and the kit. By the time a sample is approved, its paperwork, usable interior and handling should tell the same story. A search-result headline cannot do that job.
Begin with the wet event, not a label
Write down what may actually happen to the closed case. One project may involve ten minutes on an uncovered loading dock. Another may involve an open vehicle, a wash after field use or the risk of standing water. Those events are not interchangeable. “Outdoor use” hides the difference and hands the decision back to the supplier.
Put a time beside the event. Note any opening while rain or spray is still present, along with the required condition of the equipment after the trip. “Ready to switch on immediately” is far more useful in a brief than another broad outdoor-use label.
Keep the evidence attached to one model
Online listings often swap waterproof, weatherproof and water-resistant as though they meant the same thing. Purchasing records need tighter language. Place the model and configuration beside the supporting specification. Until a supplier confirms otherwise, paperwork for a sibling model or similar-looking shell proves nothing about the one being bought.
The IP65 vs IP67 protective cases guide goes into the test conditions and product identity. Use the plastic protective case category or rotomolded case category to narrow the format. After that, return to the shortlisted model for its current information; a category page is not a blanket rating statement.
If the project adds a panel, window or cable opening, draw it. Name the party responsible for confirming the finished assembly and record that decision with the order; evidence for the untouched shell cannot quietly stand in for it.
Empty the real field kit onto a table
Set the device down and empty the rest of its field kit around it. Battery and charger usually arrive first. A forgotten lead may still be in a drawer; the spare probe, adapter, small tool and folded instructions tend to surface later. Bring them over now. If the kit uses two identical cables, both should appear in the photograph.
Small removable labels solve the naming problem. Mark the objects A01, A02 and onward, then repeat those codes on the list, overhead photograph and layout. When a revision email later mentions three nearly identical black leads, A04, A05 and A06 leave less room for interpretation. The equipment list guide offers a useful starting format.
Measure the packed condition
Measure what will actually be packed. Set a handle in its instructed travel position and keep any travelling protective boot fitted. An antenna removed from the device has not vanished—it needs its own code and cavity.
Take the furthest reading on each axis, catching feet, caps, knobs and hinges, and weigh the item. Photograph awkward endpoints with the rule still touching them. Suppose the width reads 214 mm: that is what goes in the source record. Proposed cavity space gets a separate note, where reviewers can see why it was added.
An unresolved part should look unresolved on the sheet. Write “replacement battery: open,” for example, and return to the row when a model is chosen. Padding every side by 20 mm would make the uncertainty harder to find, not safer.
Draw fingers, cables and work into the layout
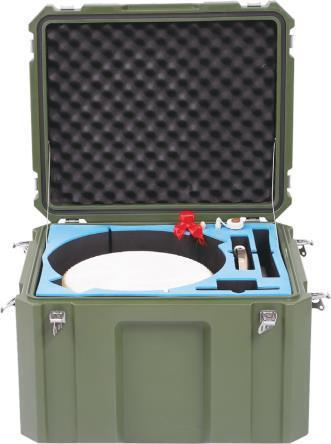
Trace an instrument too closely and the hand is locked out. While it sits on paper, have the usual operator lift it and pencil around the thumb and fingertips. Run the exercise once more in work gloves, this time near the height at which the case will be opened.
Those pencil marks can become a scallop, an exposed handle or a lifting ribbon. Occasionally the sensible response is to rotate the item. Floor-level access has a way of undoing a grip that seemed comfortable on a desk.
Allow for connected use where it matters
When equipment runs inside the case, sketch that state separately. Show the open lid, cable path, airflow and sight line to the display. Shade connectors, screens and calibrated controls wherever the insert must not bear on them.
Do not mix this operating sketch into the transport sketch. A handy cable opening is also a change to the enclosure, and it deserves its own line on the drawing and evidence request.
Accessories deserve real positions too. Coil a cable as staff will coil it after a long shift, not as a perfect showroom loop. Measure that bundle. Turn a vulnerable connector away from lid pressure and from a heavy neighboring item.
Decide how repeatable the interior needs to be
Pick-and-pluck foam earns its place when the kit is unique or still changing. Cavities can be formed before the layout is stable enough for production cutting. Much depends on the blocks removed and the walls left behind, so load the finished insert before accepting it.
Once the kit stops moving, a purpose-cut insert becomes easier to justify. Think of a fleet whose cases must match, labelled positions, or replacement equipment returning to a known recess. The repeatability is only as good as the records behind it. Let the drawing drift away from the equipment list and every later copy repeats the wrong layout. The custom foam inserts guide discusses both routes in more detail.
Think below the outline
An outline tells the cutter where the object ends, but says nothing about load. Mark safe support surfaces on the photograph and shade the no-pressure areas. Compare weight as well as size: a palm-sized metal block can be harder on the base than a large hollow cover.
Now look vertically. The stack includes base material, the equipment, any tray or second layer and the lid treatment. Rounded corners, rims and hardware can steal space that appeared available in a simple length-by-width calculation. When the packed sample needs body weight on a latch, stop and inspect the stack. Extra closing force is not a design feature.
Compare a layout with the real interior
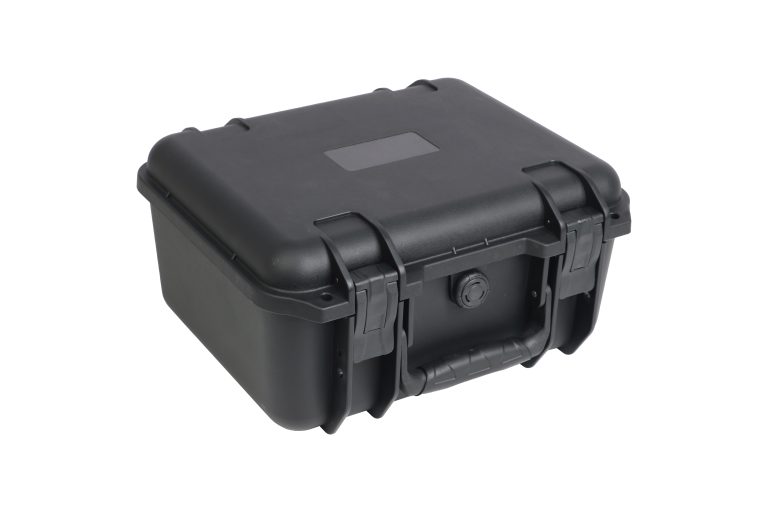
A volume figure cannot show a long probe colliding with a rounded corner. Check what the catalogue numbers describe—the exterior, the widest internal span or clear space after hardware intrusions. If the page is silent, request the current drawing instead of guessing.
The YF-463546 and YF-583542 pages offer two places to begin comparing formats. Current specifications still have to arrive before either moves beyond the shortlist. A model code is not a hidden statement of dimensions or water-ingress performance.
Walk the outside route
Once the inside seems workable, carry the proposed external size through the real journey. Check the narrow doorway, van shelf, rack and storage bay. Note stairs, loose ground and any section that depends on a manual lift. Packed weight and handle position can rule out a case that looked ideal on a screen.
Opening conditions matter as well. A case brought in from rain may need an agreed exterior-cleaning and opening routine before it enters a controlled workspace. That operational note will not appear on the foam layout, but users still need it.
Make the sample earn its approval
Load the intended equipment into the physical sample. Carry the case along a representative route. Put it down where users normally work, open it and remove items in working order. Then repack everything without the designer pointing to the right cavities.
Next, hand the case to somebody who missed the drawing meetings. Their first attempt is valuable. A pause, a cable trapped under another item or an accessory returned to the wrong recess exposes problems that the design team may have stopped noticing. Record those observations with the sample review guide.
Close the revision loop
Tie the model reference, equipment list, interior drawing and evidence request to one revision. A late change to a seal, panel, foam layer or item position means that revision is no longer current; update it before the order moves forward.
For quotation, pair the proposed model and drawing with the coded equipment list. The same package should carry quantity, destination, branding or panel work, packing requirements and evidence requests. Use the custom case enquiry guide so these details do not disappear across an email chain.
FAQ
Can the insert make the enclosure waterproof?
No. The insert supports and organizes the contents. Water-ingress performance must be confirmed from evidence for the exact case and configuration.
Which projects suit pick-and-pluck foam?
It often fits a one-off kit, a prototype or a layout that is still moving. Load the completed insert before approving it. Its label cannot tell you how much wall remains between cavities or what sits beneath the heaviest item.
Do equipment measurements include a foam allowance?
Keep the source measurement and the design allowance separate. Send the actual equipment envelope, then agree cavity clearance from shape, weight, hand access and the selected material.
What should the supplier receive first?
Send the coded list with measurements, weights, photographs and the proposed arrangement. Add the wet event, handling route, quantity, destination and requested modifications. Ask the supplier to identify the current model specification and the evidence relevant to the finished configuration.