
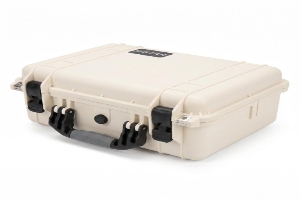
Choosing a rotomolded case starts with the equipment and transport route, not with the largest case in a catalogue. The right candidate must hold the complete kit, remain practical at its packed weight and provide the exact features and evidence required for the journey.
Treat the case, interior and load as one system. A case that looks suitable while empty can become difficult to lift, obstruct access or waste space once foam and accessories are added. Use measured requirements to narrow the models, then approve a production-representative packed sample.
Define the route before comparing cases
Write down how the equipment will move from storage to its destination. Include vehicles, loading points, stairs, doorways, lifts, benches and manual carries. Record whether the case will normally be upright, flat or moved through several orientations.
Turn each route constraint into an inspection point. A narrow vehicle opening becomes a maximum external envelope. A two-person lift becomes a requirement for suitable hand positions. A crowded work area becomes a lid-opening and equipment-access check. The equipment case shipping guide provides a route-based checklist.
Do not turn an informal sample carry into a rated performance claim. When a project requires stated load, ingress or impact performance, request evidence for the exact model and configuration. Catalogue appearance and the name of a manufacturing process do not establish a rating.
Measure the complete travelling kit
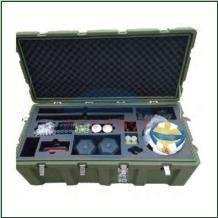
List every item that must travel: the main device, cables, batteries, chargers, tools, documents, consumables and spares. Assign each item a code and use those codes in photographs and drawings.
Measure maximum length, width and height in the transport condition. Include guards, plugs, handles or brackets that remain fitted. Record the mass of dense items and the complete kit. The equipment measurement guide explains how to capture protrusions, sensitive areas and access clearance without hiding design allowances inside source measurements.
Mark support and no-contact areas
Identify surfaces that may carry support and areas that should remain clear, such as displays, controls, vents and connectors. Photograph irregular details beside a scale. If an accessory has several possible orientations, choose and document its transport position.
Compare usable space, not nominal size
Request current internal and external dimensions for each candidate. Compare the equipment layout with usable space after foam, dividers, trays or panels are included. Rims, lid features, hardware and wall shape can affect the space available to the load.
The IFSTAR rotomolded case category is a starting point. Pages for YF-463546 and YF-604050 show different formats, but buyers should request the current specification before using either model in a drawing or order.
Check the vertical stack
Build the interior height from the base upward. Include bottom support, equipment height, any tray or divider and lid-side material. Show which surfaces may touch and where clearance is required.
Close the packed sample using normal hand pressure. Unexpected latch force can indicate interference or an over-compressed interior. Inspect the equipment again after closure rather than assuming that a closed lid proves a good fit.
Leave room for hands
An item may fit a cavity and still be difficult to remove. Mark finger access, glove clearance, lifting straps and the removal path. If equipment will operate in the case, document ventilation, cable routing and lid position separately; do not infer operating suitability from a transport layout.
Design the interior around access and change
Choose the interior after the equipment list is stable. Fixed cavities can make a repeat kit easy to audit, while trays, dividers or flexible zones may suit accessories that change between jobs. The custom foam insert guide compares pick-and-pluck and CNC-cut approaches without treating either as universal.
Keep measured equipment data separate from design allowances. Show cavity clearance, spacing and manufacturing allowances as controlled decisions on the drawing. This preserves the original equipment envelope when the insert is revised.
Review packed balance
Place dense components where they can be supported and the packed case remains manageable. Lift slowly from the intended handles and note awkward rotation, obstruction or loose accessories. Packed mass also affects vehicle loading and whether extra people or handling equipment are needed.
Inspect the exact hardware and configuration
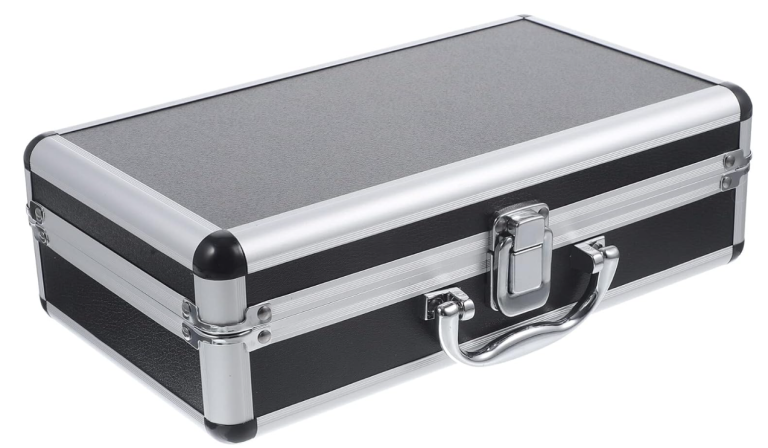
Review handles, closures, hinges, feet, wheels and stacking features on the proposed model. Confirm their positions work with the route and remain accessible after labels, branding or other project features are added.
Open every closure with the load inside. Move a wheeled configuration over the actual surface where practical, then inspect the load and interior. A short smooth-floor roll is not evidence for every terrain or a formal durability rating.
Treat modifications as configuration changes
Custom panels, ports, labels and mounted accessories can affect the finished assembly. Record each modification on the approved drawing and ask which evidence still applies.
If dust or water exposure matters, define it and request model-specific evidence. The IP65 vs IP67 guide explains why an ingress code is a test classification rather than a general promise.
Compare shortlisted models with one scorecard
Use the same criteria for every candidate: external envelope, usable interior, packed mass, access, balance, hardware, route fit, maintenance, evidence, customization and order details. A consistent scorecard prevents one attractive feature from hiding a critical mismatch.
The rotomolded vs injection molded guide helps frame a nearby construction comparison. Manufacturing labels alone do not decide suitability; the exact finished construction and packed test matter.
Record the model, interior drawing revision, equipment-list revision, quantity, branding, packing and destination in one enquiry. Use the custom case enquiry guide and ask the supplier to quote the same revision identifiers.
Approve a packed sample before release
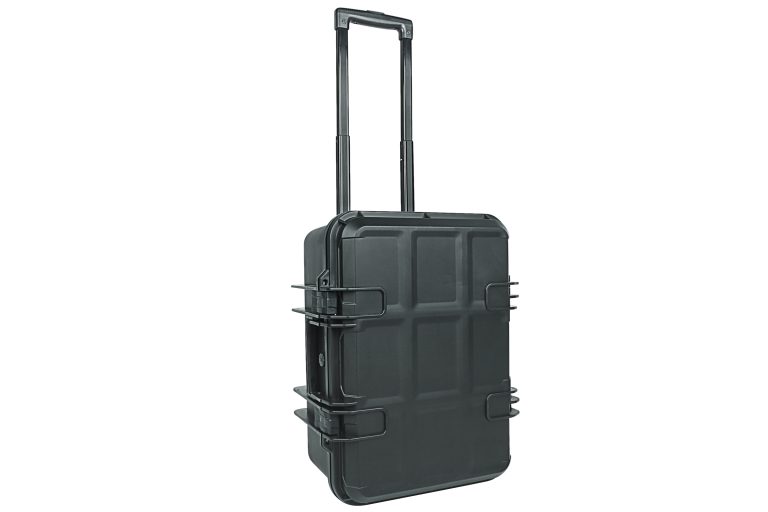
Load every coded item into a production-representative sample. Check fit, closure, removal access, balance, carrying, wheels where fitted, vehicle storage and repeatable repacking. Inspect the equipment and interior after the route trial.
Invite an operator who did not design the layout. Watch where that person hesitates, reaches for the wrong item or repacks something differently. Record accepted points, open issues and changes against the drawing revision. The sample review guide provides a structure for that decision.
Release the order only when the approved sample, specification and commercial record describe the same case.
FAQ
What size rotomolded case should I choose?
Choose from the complete equipment layout and usable interior after fittings are included. Check the external envelope against vehicles, doors, storage and handling points on the route.
Are rotomolded cases automatically waterproof?
No. A manufacturing process does not establish an ingress rating. Request evidence for the exact closed model and completed configuration required by the project.
Should I choose wheels for a rotomolded case?
Choose wheels when the packed load and route justify them, then verify wheel position, handle access, surfaces, vehicle loading and stability with the complete sample.
What should be checked on a rotomolded case sample?
Check every listed item, interior fit, lid clearance, closures, hardware, removal access, packed balance, route fit, repacking and required model-specific evidence. Record results against approved revisions.